Technique Spotlight: Emboss Resist
- Amy Rich

- Oct 2, 2020
- 2 min read
Updated: May 18, 2022
Remember the first time you watched an image or sentiment get heat embossed? Perhaps it was you who was doing the embossing or perhaps you were watching someone else show you how to do it. You watched as the heat from the heat tool (or in some cases the toaster or the stove - yes, I've heard of people early on using these methods!) melted those teeny powders together to make a beautifully, shiny masterpiece.
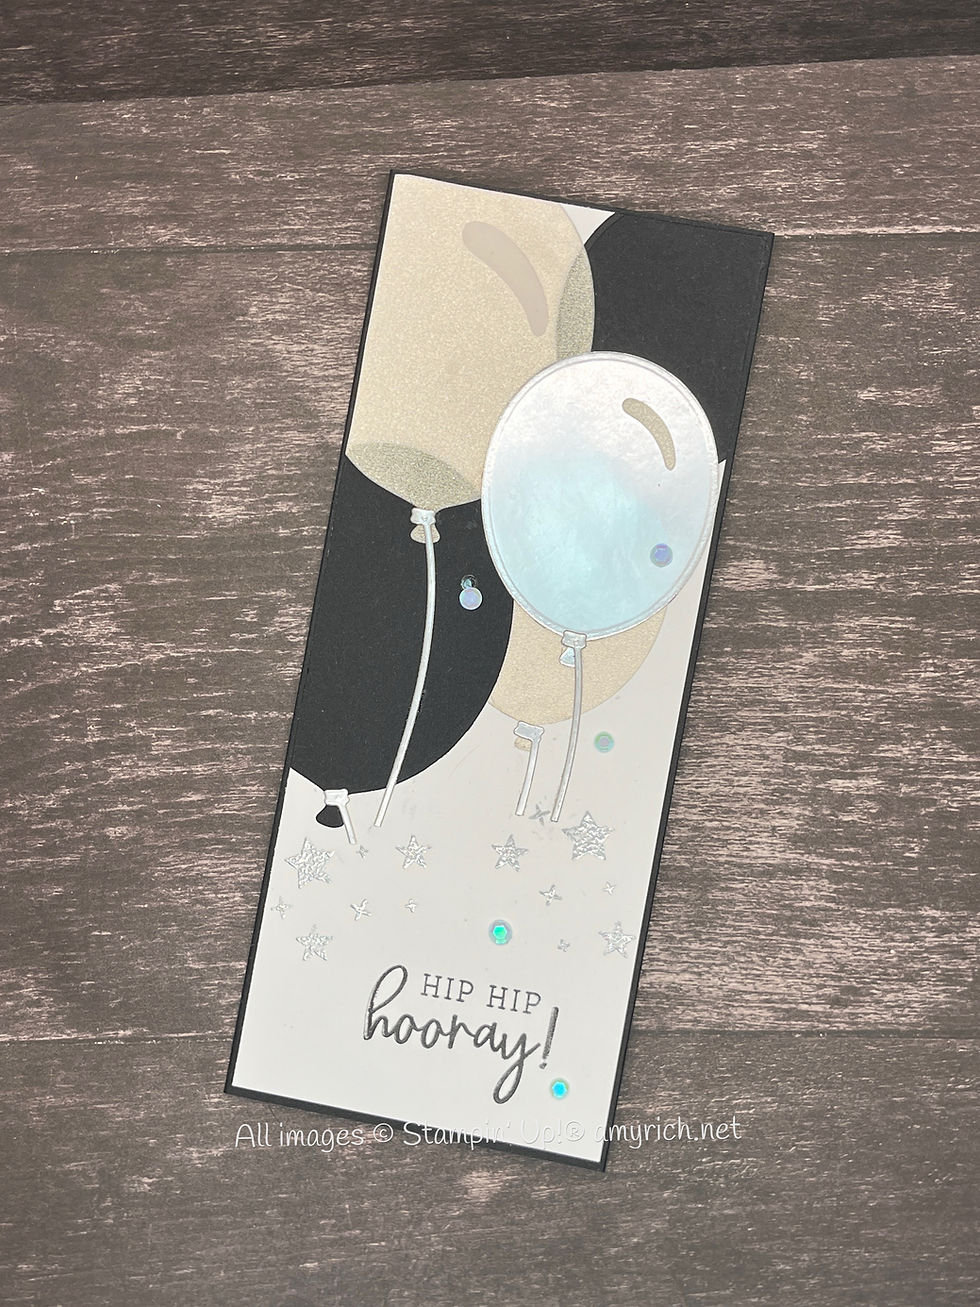
Since the advent of heat embossing, there have been many many techniques created using the process of heat embossing. Wednesday afternoon during What's Up! Stampers? on Facebook Live, I shared one called Emboss Resist. It's a simple technique that can produce stunning results.
First, let's tackle the technique I used, after which we'll delve into just how I made this gorgeous card.
My Emboss Resist technique card says it quite simply:
Emboss images on Whisper White or Very Vanilla card stock using white or clear embossing powder. Allow to cool. Sponge ink over and around the images using one or more colors. Remove excess ink from the embossing with a tissue.
Here are the beautiful results I had using the Poinsettia Petals bundle (stamp set and dies), white embossing powder, some sponge daubers, and 4 ink colors: Balmy Blue, Pool Party, Pear Pizzazz, and Mossy Meadow. Simply gorgeous results!

For the card base, I used a piece of Pool Party card stock that measures 5 1/2" x 8 1/2". I used the third from largest Stitched Rectangles dies to cut a window in the front of the card. I backed that window with a piece of the 3 3/4" x 5" Plush Poinsettia Specialty Paper, which is the perfect accent to the emboss resist poinsettia. The entire list of supplies I used to create this card, along with their links to my online store, can be found below.


Comments